If you’ve ever wished you could wake up with perfect lashes every day without spending hours in front of the mirror, you’re not alone. The truth is, beautiful lashes don’t have to take forever—or cost you a trip to the salon. With the right tools and a simple DIY method, you can achieve a glamorous, eye-catching look in just 5 minutes.
This lash hack is perfect for anyone who’s busy, new to makeup, or simply wants a quick boost before heading out. Whether you’re getting ready for work, a date, or a night out, this little routine can transform your eyes instantly.
Let’s break it down step by step.
Why Lashes Matter So Much
Before we jump into the how-to, let’s talk about why lashes are such a big deal. Lashes frame your eyes, making you look more awake. That’s why mascara became such a staple in every makeup bag.
But mascara has its limits. Clumps, smudges, and short wear time are common struggles. Lash extensions and salon treatments might give you a flawless look, but they cost time and money—and require maintenance.
That’s where DIY lash extension hacks come in. They offer the best of both worlds: convenience, affordability, and results that last.
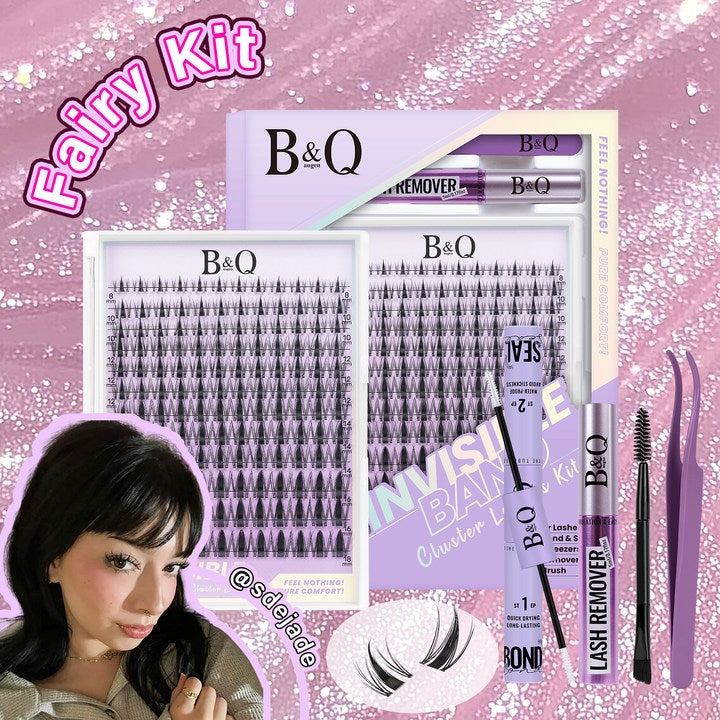
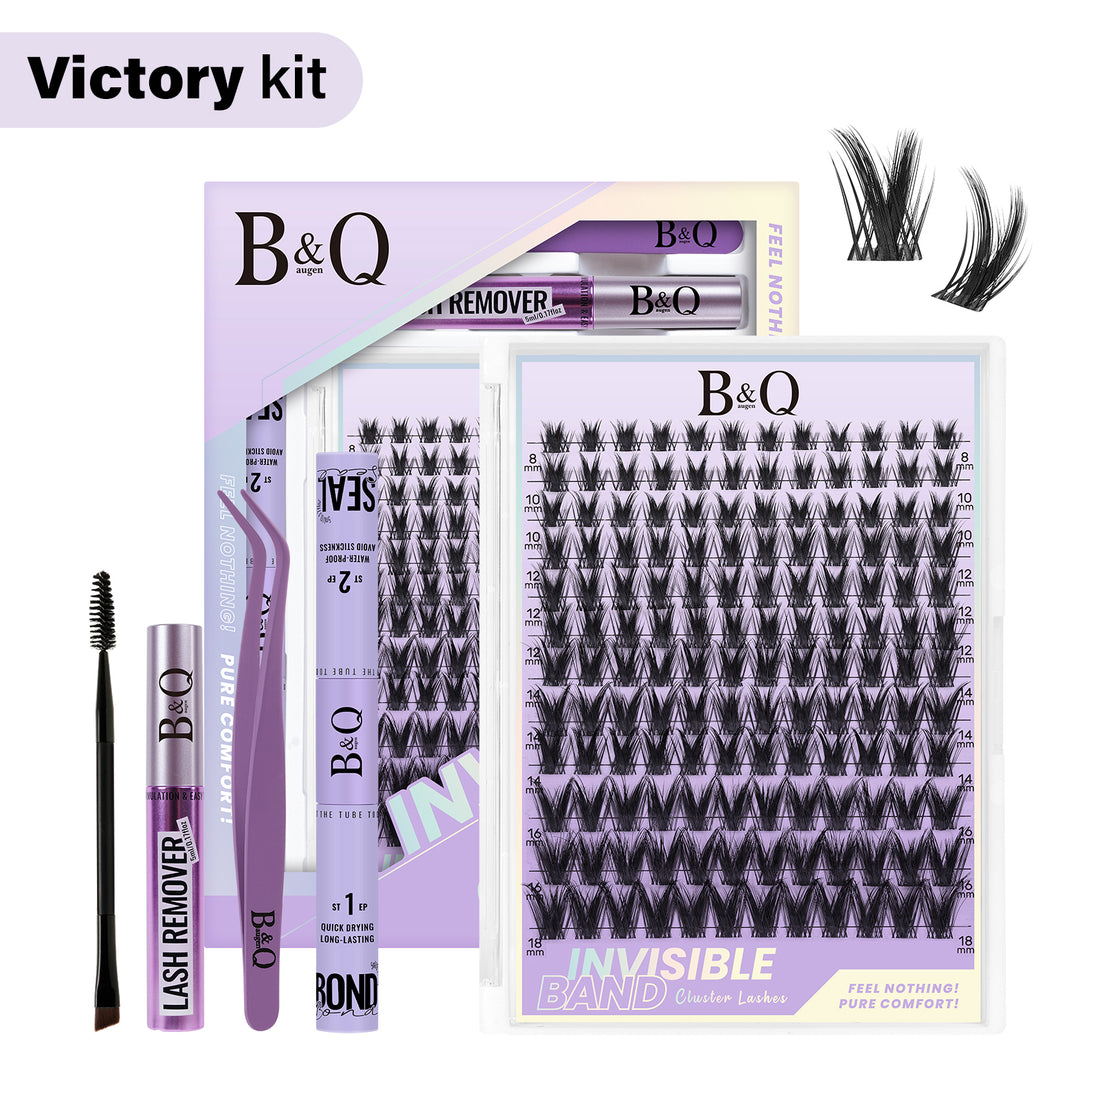
What You’ll Need for the 5-Minute Lash Hack
Here’s a simple checklist before you get started:
-
Lash clusters or strips (whichever you prefer for your style)
-
Bond & Seal (a 2-in-1 glue system designed for DIY lashes)
-
Lash applicator or tweezers
-
A small mirror
-
Optional: Lash remover (for when you want to take them off easily)
That’s it! No complicated gadgets or expensive salon appointments.
Step 1: Prep Your Natural Lashes (1 Minute)
Start with clean, dry lashes. Oil, leftover mascara, or skincare products can keep the lash bond from sticking properly. If you’ve worn makeup earlier, gently wipe your eyes with a makeup remover and let them dry completely.
Pro tip: Curl your natural lashes before applying clusters or strips. It gives your lashes a nice lift and helps the falsies blend better.
Step 2: Apply the Bond (1 Minute)
Think of lash bond as your lash glue—but better. Instead of applying it on your eyelid like traditional lash glue, you’ll apply it lightly at the base of your natural lashes, just like mascara.
Here’s how:
-
Take the bond wand and brush a thin coat along your natural lashes.
-
Don’t overdo it. A little goes a long way. Too much can cause clumping.
-
Focus on the roots, not the tips.
This creates a sticky base for your lash clusters to hold onto.
Step 3: Place the Lashes (2 Minutes)
Now for the fun part—actually applying the lashes.
-
Pick up a lash cluster (or section of a strip) with your applicator.
-
Place it under your natural lashes, close to the waterline but not touching your skin.
-
Press gently to secure it in place.
Repeat with 2-6 clusters per eye, depending on how full you want your look. For a natural effect, stick to the outer half of your lashes. For a more dramatic look, cover the entire lash line.
Don’t stress about perfection—DIY lashes are very forgiving. The clusters blend in easily once they’re all in place.
Step 4: Seal It (1 Minute)
To lock everything in, apply the seal. This step removes any stickiness from the bond and keeps your lashes in place all day.
-
Brush a small amount along the base of your lashes.
-
Make sure you cover all the clusters.
-
Wait a few seconds for it to set.
Once sealed, your lashes should feel comfortable and lightweight.
Step 5: Final Touches (Optional, 30 Seconds)
If you want a little extra glam, you can:
-
Add a thin swipe of eyeliner to hide the lash band.
-
Apply mascara on your bottom lashes only (never on your clusters).
-
Use a lash curler to gently blend your natural lashes with the clusters.
And that’s it—you’ve just created a salon-quality lash look in five minutes or less.
Why This Hack Works
What makes this hack so good is that it saves time without sacrificing results. Unlike strip lashes, clusters give you a more natural, customized look. Unlike salon extensions, you’re in control—you decide when to apply, how dramatic you want it, and when to remove them.
Plus, Many lash lovers say it takes them even less than five minutes once they get the hang of it.
Tips for Beginners
If you’re new to DIY lashes, here are a few things to keep in mind:
-
Start with short clusters
Shorter lengths are easier to apply and blend naturally. Once you’re confident, try longer ones for more drama. -
Don’t panic if one goes crooked
Just remove it with tweezers and try again. The bond won’t fully dry right away, so you have wiggle room. -
Practice on a weekend
Your first try might take a little longer. Do a test run before a big event. -
Always have remover handy
If you need to take them off, the remover will dissolve the bond without damaging your natural lashes.
Common Questions
1. Can I shower or sleep with them on?
Yes! Once sealed, DIY lashes are water-resistant and safe to sleep in. Just be gentle when washing your face.
2. Do they damage natural lashes?
Not if applied and removed correctly. The bond holds onto your lashes, but remover breaks it down safely.
3. Can I reuse clusters?
Yes. If you remove them carefully, clean off any leftover bond, and store them properly, you can reuse them a few times.
Final Thoughts
This 5-minute lash hack is proof that beauty doesn’t have to be complicated. With just a few tools and a little practice, you can get the same glamorous results as a salon—right at home.
Whether you’re a busy mom or a college student rushing to class, this DIY lash routine is a game-changer.
So next time you’re in a rush but still want to look great, try this hack. In just 5 minutes, you’ll have gorgeous lashes that boost your confidence and make your eyes pop.