DIY lash extensions have taken the beauty world by storm, offering an affordable and time-saving way to achieve salon-level lashes from home. But with the rapid rise in popularity comes a flood of misinformation — especially online. Some claim that DIY lashes ruin natural lashes, while others say they’re too hard to apply or don’t last long enough.
In reality, most of these assumptions are completely false. If you’ve been hesitant to try DIY lash extensions because of these rumors, this guide is for you. We’ll break down the five most common myths about DIY lash extensions and reveal the truth behind each one — so you can enjoy beautiful, long-lasting lashes with confidence.
Myth #1: DIY Lash Extensions Damage Your Natural Lashes
The Truth: Proper application keeps your natural lashes safe and healthy.
One of the most common fears about DIY lash extensions is that they’ll make your real lashes fall out or become thin over time. While this can happen with poor technique or harsh products, it’s not true for well-made lash kits applied correctly.
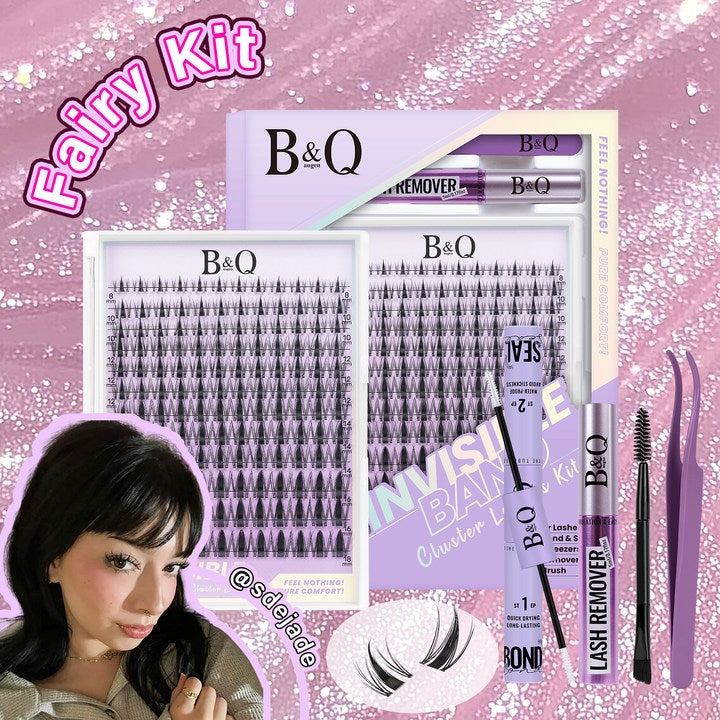
DIY lash systems, such as B&Qaugen DIY Lash Cluster Kits, are specifically designed for at-home use and gentle bonding. The secret lies in placement — lash clusters should be applied slightly beneath your natural lashes, never directly on your eyelid or lash roots. This method keeps your natural lashes free from stress and prevents pulling.
When it’s time to remove them, don’t just rip them off! Use a lash remover or a mild oil-based cleanser to dissolve the adhesive. With gentle care, your natural lashes will remain just as strong and healthy as before.
☀Pro Tip: Always clean your lashes before applying new ones. Natural oils or makeup residue can weaken the bond, causing premature fallout.
Myth #2: DIY Lashes Are Difficult to Apply
The Truth: Anyone can learn with the right tools and a bit of practice.
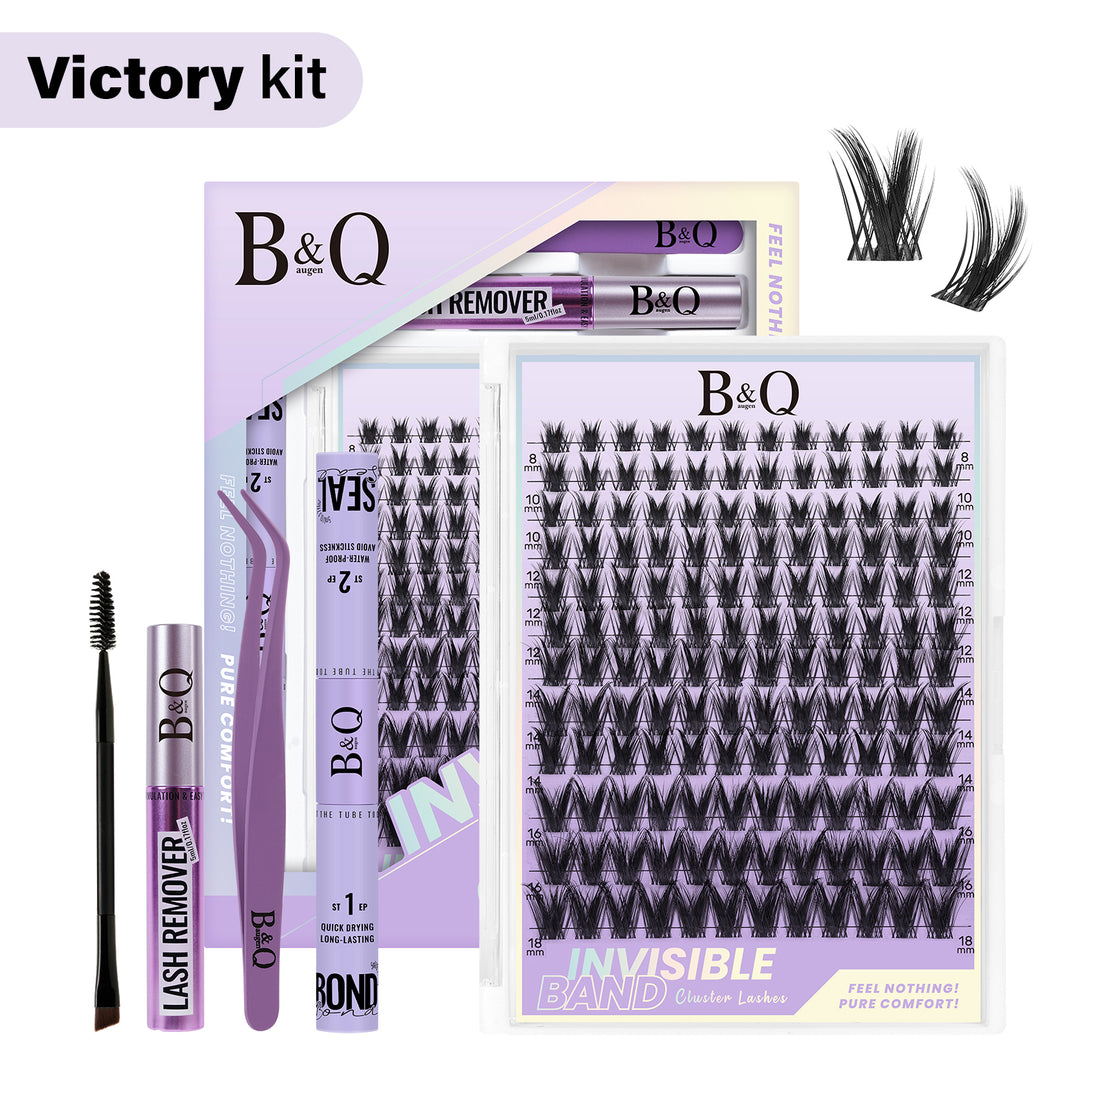
It’s easy to assume lash extensions require a professional touch — but modern DIY lash kits have simplified the process dramatically. Brands like B&Qaugen Lash have designed beginner-friendly systems that include everything you need:
-
Pre-mapped lash clusters in varying lengths
-
A gentle, long-lasting bond
-
Precision applicator tweezers
-
A seal to lock in your lashes for days
Applying DIY lashes takes just a few minutes once you get used to it. Simply brush on a thin layer of bond, attach the clusters underneath your natural lashes, and seal them in place. No complicated techniques, no waiting for hours — just quick, customizable lashes.
In fact, many users report that after two or three tries, they can complete a full set in under 10 minutes. The best part? You can tailor your look every time — shorter and soft for daytime, longer and dramatic for night.
☀Pro Tip: Watch short tutorial videos before your first application. Seeing the placement technique visually helps build confidence fast.
Myth #3: DIY Lash Extensions Don’t Last Long
The Truth: With the right aftercare, they can last 5–7 days or more.
Another common misconception is that DIY lashes only stay put for a day or two. But high-quality lash systems, especially those with flexible bonds, can easily last up to a week when cared for properly.
To maximize retention, follow these aftercare rules:
-
Avoid water and steam for the first 24 hours.
-
Skip oil-based products around the eyes.
-
Sleep on your back or side to avoid friction.
-
Don’t rub or tug on your lashes.
If you clean your lashes daily with a lash-safe cleanser, they’ll remain lightweight, fluffy, and beautiful for days. You can even touch up small sections if needed — no need to redo the entire set.
Compared to daily strip lashes, DIY clusters are a huge time-saver, lasting multiple days with minimal effort.
☀Pro Tip: Use a seal after application. It creates a protective barrier that locks in your look and prevents moisture damage.
Myth #4: DIY Lashes Look Fake or Overly Dramatic
The Truth: They can be as natural or bold as you like.
Some people imagine that DIY lashes always look too “extra” — thick, heavy, and obviously fake. But that couldn’t be further from the truth. The beauty of DIY lash extensions is customization.
You can choose from a range of styles to match your mood or occasion.
-
For a natural everyday look, try Fairy or Venus lashes — soft, feathery clusters that enhance your eyes subtly.
-
For date nights or events, go bold with styles like Goddess or Drama Queen.
Since the clusters attach beneath your natural lashes, they create a seamless lash line that mimics professional extensions. No visible bands, no clumpy glue — just smooth, lifted lashes that move naturally with your eyes.
☀Pro Tip: Mix lash lengths for a wispy, realistic finish. Applying shorter clusters on the inner corners and longer ones on the outer corners helps open up your eyes beautifully.
Myth #5: DIY Lash Extensions Are the Same as Strip Lashes
The Truth: They’re totally different in design, comfort, and wear time.
While both products enhance your eyes, DIY lash extensions and strip lashes serve very different purposes.
Strip lashes are applied above the lash line using sticky glue and must be removed daily. They’re great for one-time wear but can feel heavy or peel off easily.
DIY lash extensions, however, are semi-permanent clusters bonded under your natural lashes. This placement gives a weightless, 360° lash look that lasts several days. They’re more comfortable, flexible, and move naturally with your lashes — you’ll often forget you’re even wearing them.
Think of DIY lashes as the perfect middle ground between strip lashes and salon extensions: long-lasting, affordable, and easy to maintain.
☀Pro Tip: If you love the salon look but don’t have time for appointments, DIY lash kits are your best alternative — same glam results, a fraction of the cost.
Bonus Section: How to Get the Best Results with DIY Lash Extensions
Here are a few golden rules to make your lashes look flawless and last longer:
✅ Prep your lashes: Remove makeup and oil before application.
✅ Use minimal bond: A small amount goes a long way. Too much glue can cause clumping.
✅ Seal and set: Always finish with a sealant to protect the bond.
✅ Brush daily: Gently brush through your lashes each morning to maintain shape.
✅ Remove properly: Use remover or cleansing oil — never pull!
Final Thoughts
DIY lash extensions aren’t just a beauty trend — they’re a lifestyle upgrade. They give you the freedom to customize your look, save salon costs, and wake up every day with perfect lashes.
So, the next time you hear someone say DIY lashes are “bad for your lashes” or “too hard to use,” you’ll know the truth. With the right technique and quality products like B&Qaugen DIY Lash Cluster Kits, you can safely achieve salon-level beauty at home.
It’s time to let go of the myths and embrace the convenience and confidence of DIY lashes — because beautiful lashes shouldn’t come with limits.
FAQs
1. Can I sleep with DIY lash extensions on?
Yes! As long as you avoid sleeping face-down, DIY lashes are designed to withstand normal overnight wear for up to a week.
2. How do I remove DIY lash extensions safely?
Use a dedicated lash remover or an oil-based cleanser to gently dissolve the adhesive. Never pull or tug on your lashes.
3. Are DIY lashes reusable?
Many high-quality clusters, like those from B&Qaugen Lash, can be reused several times if cleaned and stored properly.
4. Can beginners apply DIY lashes easily?
Absolutely. With modern lash kits and online tutorials, even first-timers can achieve flawless results in minutes.
5. What makes DIY lashes different from salon extensions?
DIY lashes offer the same professional finish but at home — without the cost or time commitment of salon visits.