Eyelash extensions have become one of the most popular beauty trends in recent years. But for many people, visiting a salon every few weeks to maintain classic lash extensions can be expensive, time-consuming, and sometimes damaging if not done correctly. This is where lash clusters come in—a flexible, affordable, and beginner-friendly option for anyone who wants to enhance their natural lashes without a long-term commitment.
In this guide, we’ll break down everything you need to know about lash clusters: what they are, their pros and cons, how to apply them at home, how to care for them, and answers to the most common questions people have. By the end, you’ll have a complete understanding of whether lash clusters are right for you and how to make the most of them.
What Are Lash Clusters?
Lash clusters (sometimes called DIY lash extensions, segment lashes, or flare lashes) are small groups of individual lash fibers bonded together at the base. Instead of applying a single lash extension to each natural lash (like in a salon), lash clusters let you apply a tiny group of lashes at once. This creates volume and length more quickly and with less skill required.
Clusters are usually available in different lengths (from subtle 8mm to dramatic 16mm or more) and different curls (like C, D, or L curl). Some are wispy for a natural look, while others are thick for bold glam styles.
The base of the cluster is either knot-free (giving a seamless appearance) or has a tiny visible knot (easier for beginners but less natural up close). Most modern DIY lash brands focus on knot-free clusters because they blend better with natural lashes.
Think of lash clusters as the middle ground between strip lashes and salon extensions:
-
More natural-looking and customizable than strip lashes.
-
More affordable and convenient than salon lash extensions.
Why Are Lash Clusters So Popular?
The rise of DIY beauty has fueled the popularity of lash clusters. People love them for several reasons:
-
Customizable Look – You can place clusters exactly where you want, choosing lengths and densities that suit your eye shape. Want a cat-eye look? Just add longer clusters at the outer corners. Want a doll-eye effect? Use uniform lengths across the lash line.
-
Budget-Friendly – A salon set of lash extensions can cost anywhere from $100 to $300, plus regular refills. Lash clusters cost a fraction of that—often less than $20 per set.
-
Time-Saving – Once you get the hang of it, applying clusters takes 10–20 minutes, compared to lying down for 1–2 hours at a salon.
-
Low Commitment – You can wear them for a day or a week, depending on the adhesive used. Perfect for events, travel, or just testing out new styles.
-
Beginner Friendly – With practice, most people can apply lash clusters at home without professional training.
Pros and Cons of Lash Clusters
Like any beauty product, lash clusters have their strengths and weaknesses.
✅ Pros
-
Natural Look: If applied correctly, clusters blend seamlessly with your own lashes.
-
Affordable: Saves hundreds of dollars compared to salon extensions.
-
Flexible Wear Time: Can last from one day (with strip lash glue) to a week (with stronger DIY adhesive).
-
Damage Control: When removed properly, they are generally gentler on your natural lashes than long-term salon extensions.
-
Style Variety: Endless choices in curl, length, and thickness.
❌ Cons
-
Learning Curve: First-time users may struggle with placement or adhesive.
-
Durability: They don’t last as long as salon extensions (usually 3–7 days).
-
Maintenance: You need to clean and care for them daily if you want them to last.
-
Adhesive Sensitivity: Some glues may cause irritation if not used carefully.
-
Not Waterproof: Most DIY adhesives aren’t truly waterproof, so swimming or heavy sweating may loosen them.
How to Apply Lash Clusters at Home (Step-by-Step Guide)
Applying lash clusters is easier than you might think, but technique matters. Here’s a simple step-by-step process:
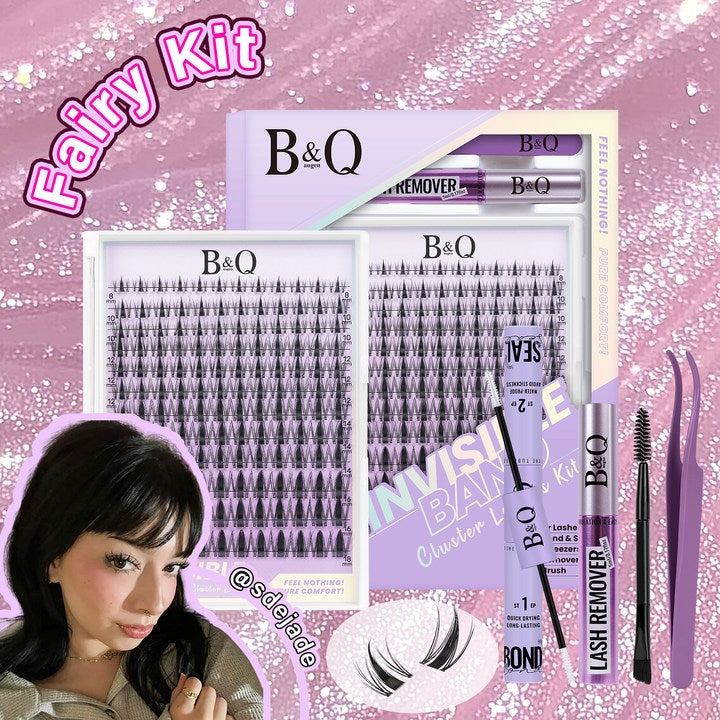
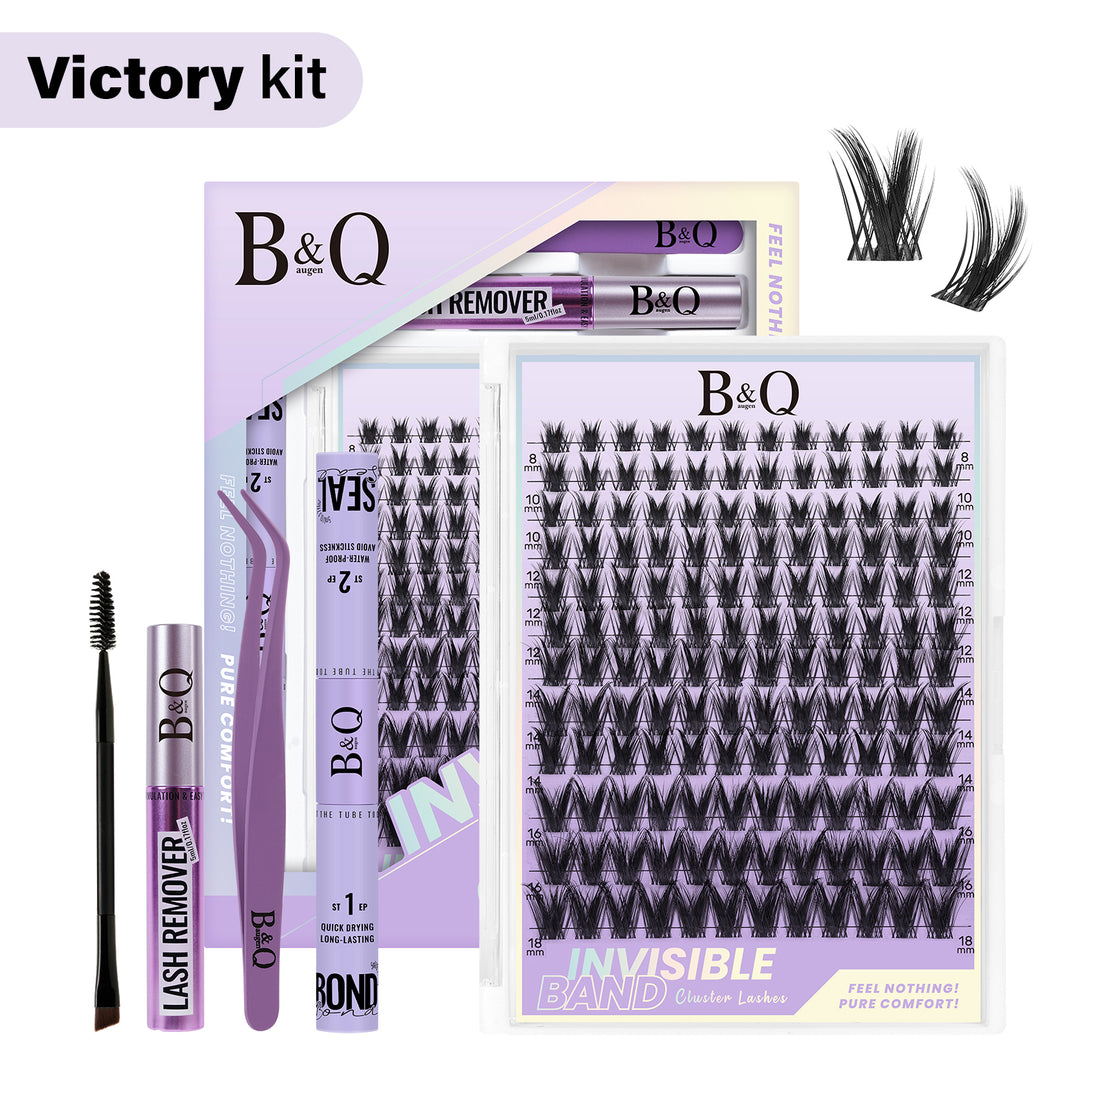
What You’ll Need:
-
Lash clusters (choose lengths and curls you like)
-
Lash adhesive (bond for longer wear or strip glue for short wear)
-
Applicator/tweezers
-
Spoolie brush
-
Lash sealant (optional, but increases longevity)
-
Mirror and good lighting
Step 1: Prep Your Natural Lashes
Start with clean, makeup-free lashes. Use an oil-free cleanser or micellar water to remove dirt, oils, and mascara. Natural oils can break down lash glue, so a clean base is key.
Step 2: Apply Adhesive
There are two main methods:
-
Bond Underneath (Most Popular for DIY) – Brush a thin layer of adhesive directly on your natural lashes near the base. This allows clusters to sit underneath your lashes for a seamless look.
-
Glue on Cluster Base – Dab a small amount of glue onto the base of the cluster before applying.
Step 3: Place the Clusters
Using tweezers, gently pick up one cluster and place it underneath your natural lash line, about 1–2 mm from your eyelid (never directly on the skin). Start from the outer corner and work inward.
Step 4: Adjust and Bond
Use the applicator to squeeze your natural lashes and clusters together, ensuring they stick well.
Step 5: Seal (Optional)
A lash sealant helps lock in the adhesive and makes clusters last longer. Apply a thin coat across the lash line.
Step 6: Final Touch
Brush through with a spoolie to blend the clusters with your natural lashes.
💡 Pro Tip: Practice makes perfect. Your first try may not look flawless, but after 2–3 applications, it becomes much easier.

How to Care for Lash Clusters
If you want your clusters to last several days, proper care is crucial.
-
Avoid Oils – Oil-based makeup removers and skincare products will weaken the adhesive.
-
Be Gentle – Don’t rub your eyes or tug at your lashes.
-
Clean Daily – Use an oil-free cleanser and a cotton swab to gently clean around your lash line.
-
Avoid Heavy Mascara – If needed, use only a light coat on your bottom lashes.
-
Sleep Smart – Try sleeping on your back or with a silk pillowcase to reduce friction.
-
Reapply When Needed – If a cluster lifts, you can remove it and reapply without disturbing the rest.
How to Remove Lash Clusters Safely
Removing clusters improperly can damage your natural lashes. Here’s the safest method:
-
Oil-Based Remover – Apply a lash-safe oil-based remover or coconut oil along the lash line.
-
Wait and Loosen – Let it sit for 1–2 minutes so the glue softens.
-
Gently Remove – Use tweezers or fingers to carefully slide off the clusters.
-
Clean Lashes – Wash your natural lashes with a gentle cleanser.
Never pull clusters off forcefully. If they resist, apply more remover and wait.
Common Questions About Lash Clusters
👉 For a complete, check our FAQs
1. How long do lash clusters last?
With regular strip lash glue, clusters usually last 1 day. With stronger DIY bond + seal systems, they can last 3–7 days with proper care.
2. Are lash clusters safe for natural lashes?
Yes—if applied and removed correctly. They can actually be safer than salon extensions because they don’t rely on long-term adhesives. The key is to avoid picking or pulling them off.
3. Can I shower or swim with lash clusters?
Quick showers are fine if you avoid direct hot water and steam on your lashes. Swimming isn’t recommended unless your adhesive is waterproof (most aren’t).
4. What’s the difference between lash clusters and strip lashes?
-
Clusters are small segments you place individually, giving a natural look.
-
Strips are one band of lashes applied across the eyelid. Strips are faster, but less customizable.
5. Can beginners apply lash clusters?
Absolutely! Most people get the hang of it after a few tries. They’re easier than salon extensions and give you more control than strip lashes.
6. How do I choose the right style?
👉 If you're unsure which type of eyelashes suits you best, we've prepared lash style test to help you find the perfect match.
-
Round Eyes: Use cat-eye clusters (shorter inside, longer outside).
-
Hooded Eyes: Go for wispy, lighter clusters with varied lengths.
-
Almond Eyes: Most styles work well; try a doll-eye effect for balance.
-
Small Eyes: Avoid overly heavy clusters that weigh down the eyes.
Final Thoughts
Lash clusters are a game-changer in the world of DIY beauty. They let you experiment with different lash looks, save money, and enjoy salon-like results from home. Whether you want a natural, everyday enhancement or a bold, dramatic style for special occasions, lash clusters give you the flexibility to achieve your lash goals.
The key is practice, patience, and proper care. Once you master application and removal, lash clusters can become your go-to solution for stunning eyes without the salon price tag.
References
-
American Academy of Ophthalmology. Are Eyelash Extensions Safe? (2020). Link
-
Healthline. How to Care for Eyelash Extensions to Make Them Last Longer (2022).